QBasic Tutorials: QBasic with DOSBox - Part 2
Quick View
QBasic Tutorials: QBasic with DOSBox: Part 2 of this tutorial illustrates how to integrate folders containing your source codes, and explains how to save a lot of typing when launching DOSBox.
Author: Crossroads
Created: 2015-08-18
Updated: 2022-05-24
Part 2 - Automation and Customization
In order to store all DOSBox / QuickBASIC related files, we have to add another directory (C:\oldDOS\Progs) to our folder structure.
Copy or move all your DOS stuff to that directory:
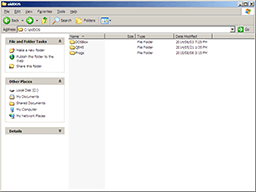
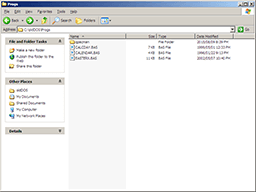
Now we can restart DOSBox, as described in Part 1, Fig. 2.2 with one exception:
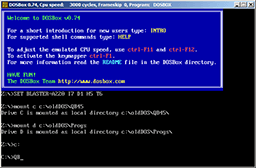
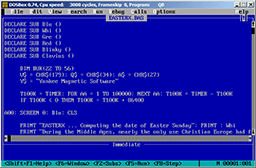
In order to have full access to all data in Progs, we'll integrate that directory as drive D (Fig. 4.1). Here we go:
Type mount C C:\oldDOS\QB45 ↵
Type mount D C:\oldDOS\Progs ↵
To change to drive C, type C: ↵
Last but not least, type in qb and confirm with ↵
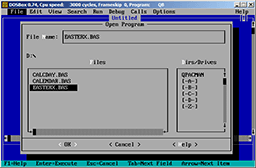
Finally we are able to load, execute, modify and save every source code stored in drive D!
The time-consuming typing before each start of QuickBASIC is extremely annoying. Is that really necessary? Fortunately, the answer is: No!
The following section describes how to start QuickBASIC automatically:
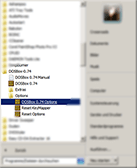
Go to Start Menu > DOSBox-0.74 > Options and click on DOSBox-0.74 (Fig. 5.1)
Scroll down to [autoexec] in the opened config file and add the following lines (Fig. 5.2)
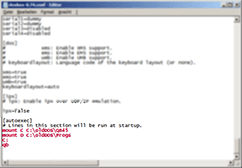
Once the config file has been saved and closed, DOSBox needs to be restarted. Now QB should be available immediately without any additional typing.
! Part 3 describes how to launch a variety of applications within DOSBox with little effort using shortcuts.